Tracking time seems like a simple process, but when you have to do it manually, it can be easy to lose track. There are two easy ways to see your time in Excel, one is to automatically export your calendar data to excel using TimeNavi. The other is to use a pre-made tracking spreadsheet and manually add your time spent working.
Automatically Export your Calendar to Excel
TimeNavi is a great way to automatically export your Google Calendar to Excel, Google Sheets, or a spreadsheet. It means that instead of trying to count every minute in excel you can add events in your calendar and TimeNavi will add up your hours for you.
Manually Track your Time in Excel
Step 1: Decide What You're Tracking
The first step is to decide what information you need to track. Do you need to track start and stop times, or just the duration of each task? Do you need to include breaks, or just work time? Answering these questions will help you choose the right format for tracking your time.
Step 2: Set Up Your Spreadsheet
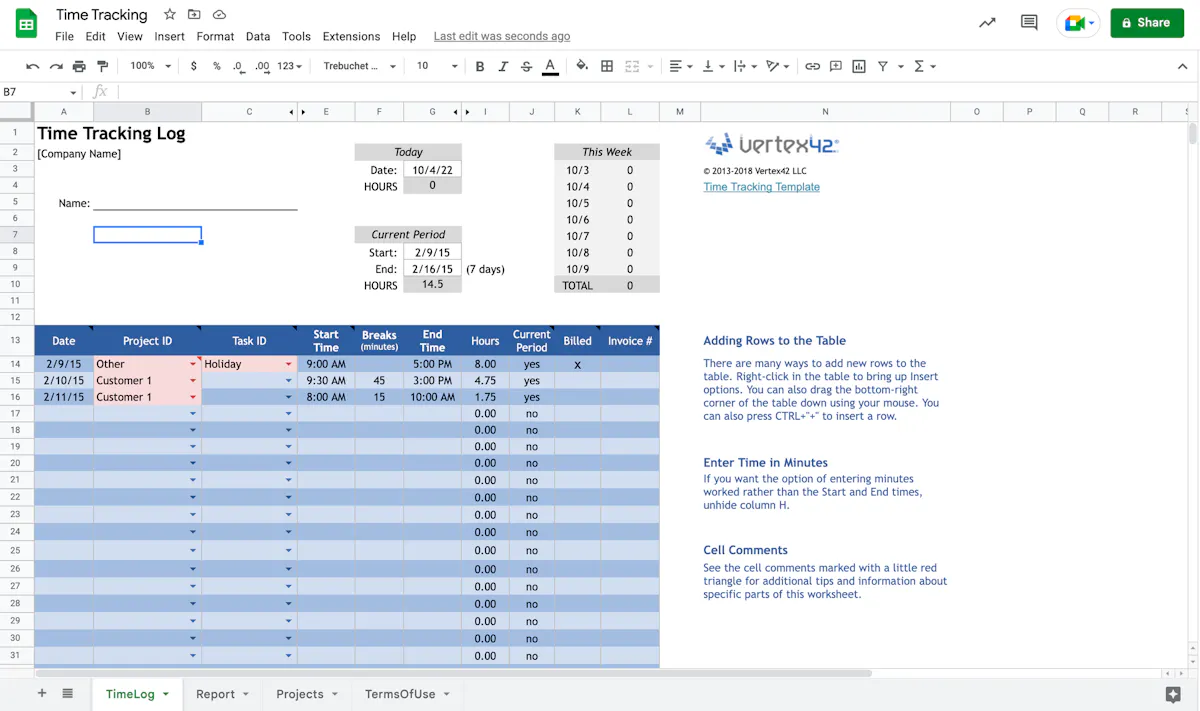
Once you know what information you need to track, you can set up your spreadsheet. If you're tracking start and stop times, create two columns labelled "Start Time" and "Stop Time." If you're only tracking duration, create a single column labelled "Duration." You can also add columns for task names, notes, or any other relevant information.
Here is an example spreadsheet from our friends over at Vertex42:
Step 3: Start Tracking Your Time
Now it's time to start filling in your spreadsheet. For each task you complete, enter the time in the appropriate columns. If you're tracking start and stop times, be sure to calculate the difference between the two so you can see how long each task took.
💡 Handy tips here
Ctr + Shift + ; - logs the current time and puts it into your chosen cell.
Duration: when calculating duration sometimes the time comes up as hours and minutes. In Google Sheets you can fix this by changing the formatting to duration. In Excel you can click Ctr + 1 and it will give you the formatting options to change to Time, and then the fifth option down.
Step 4: Review Your Data
Once you have a few days' or weeks' worth of data, take some time to review it. Are there any patterns? Are there tasks that are taking longer than they should? Are there ways you can speed up your workflow? Answering these questions will help you fine-tune your process and make better use of your time.
Tracking time doesn't have to be a pain. With a little bit of planning and some Excel wizardry, you can keep track of everything you need to know—and make better use of your time in the process.
That said, TimeNavi does all of this for you as well. Instead of logging it in excel, log it in Google Calendar and TimeNavi will calculate the hours for you. So if you are interested in automated time tracking then TimeNavi is your best bet. We love excel but we love TimeNavi more.